

The first year I researched non-psychedelic mushrooms, like shiitake and other completely legal shrooms that are absolutely not medically interesting to a lot of the scientific community right now, I purchased spawn bags to ease my way into growing mushrooms. Purchasing a pre-sterilized grain bed lets you skip a step in the beginning, but they are notorious for getting infected at some point in transit. After waiting 2 months after inoculation with liquid spores, mine smelled funky, and were filled with a green fungus. Luckily I had stored the remaining spores in the back of the refridgerator. I moved on to the PFTek.
Robert McPherson created this method during the psychedelic dark ages of the 90s, specifically for people to be able to do everything with things you might already have in your kitchen. PFTek stands for Psylocybe Fanaticus (I guess was referred to as Psylocybe Fanaticus) tech – or technique. After reading a few recipes for Mr Fanaticus’s PFTek, and watching a winning YouTuber start his video by slowly sipping his wine, then starting with “So… The best way to do a PFTek is to not do it at all.” I decided I would do it. If Mr. Youtube hadn’t been so cheesy, I think I would have really trusted him when he continued “it is more troublesome, more likely to contaminate, more work, and its lower yielding than any other method.” Honestly, I think I just wanted to try the method that was such a staple of shroom growing community. Out of my 10 little PFTek jars, about 4 actually produced very small mushrooms, which ended up being less than 3 grams dried.
A year later, I decided to do it correctly.
I found some great mashups when researching for my second year, third attempt, to grow mushrooms. This article became the linchpin for this part of the project. Here is my own, modified, version of that recipe.
Recipe:
Makes 5 lbs worth of grains, ideal for 2 x 3lb grow bags, and 2 – 4 mono tubs worth of mycelium substrate.
Ingredients & Tools:
- 5-6 lb rye grain berries (I purchased a 25 lbs bag from Great River Organic Milling, but this smaller 5 lb bag could work.
- 1 Tbsp Gypsum
- 1 Cup coffee
- 5 gallon bucket
- Syrian wrap
- Pressure cooker (larger is better)
- Grow bags with microsporangia vent
- Rubber bands or clips to tie them off
Directions:
- Pre-hydrate by rinsing all 6 pounds of berries and placing in bucket
- Add water, coffee, gypsum at same time, adding water till covering double the space of top of berries
- Wait 12-24 hours (Next day) and then drain, and rinse really well,
- Add fresh water till it is just barely above level of grains – maybe 1 inch over max.
- Cook for 15-20 minutes at boiling.
- After 15-20 minutes keep on low until all the water is gone; leave heat on super low let water evaporate even more. You want to get rid of all water outside the berries, quickly, so the berries don’t cook, and also don’t loose too much moisture inside them. The next step, putting on trays, should remove whatever is left.
- Place on trays to dry. Try to not have them too thick on trays – otherwise they won’t dry completely. Leave for 1-2 hours.
- Put in grow bags (or jars). If jars – put the microspore tape over predrilled 1/8 inch holes in advance, and cover those and self healing hole with foil. If in grow bags, fold and tape, clamp, or rubber band so that microspore breathing part is not open (otherwise water could push in during pressure cooking)
- Preasure cook at 15 psi for 90 minutes
- If it’s in a cooker like my instapot, which only has ‘manual mode – high pressure’ which is closer to 11 psi, shoot for 2 hrs
- Also, if it’s small – expect 2 cycles.
- You don’t want to place the bags on the bottom. Put 1 cup of water in the bottom, then some wire racks (you can also use ball jar lids, side by side, with a layer foil over them) to keep the bags from actually cooking.
- Close the bags really well, with some heavy rubber bands, or a large clip, so that the bag is closed and also the microsporangia vent is folded and won’t allow the high pressure steam to get in.
- Let cool in pot or out of pot for 6-12 hrs or until temperature is close to room temperature (< 80degrees is ideal)
- Carefully transfer to sterilize environment for the next step: injecting spores.
Let’s see if I can continue with the next step…. If you are still reading this text – I failed. In the meantime, here are a few pics from my research.
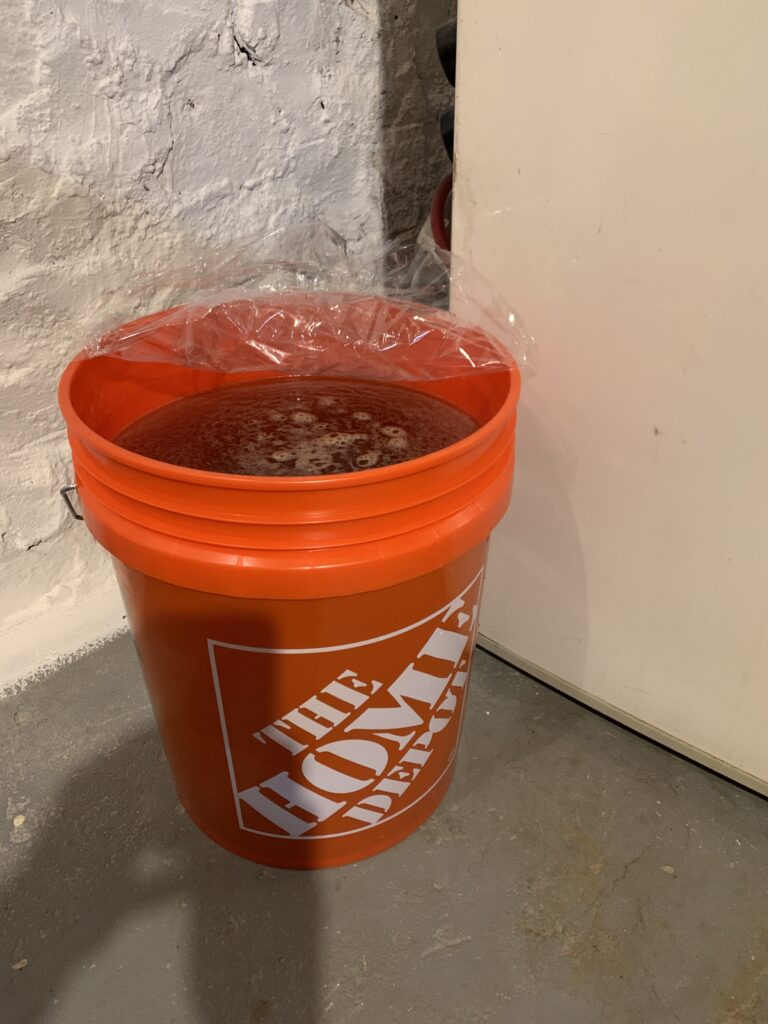
pre-hydrating grain 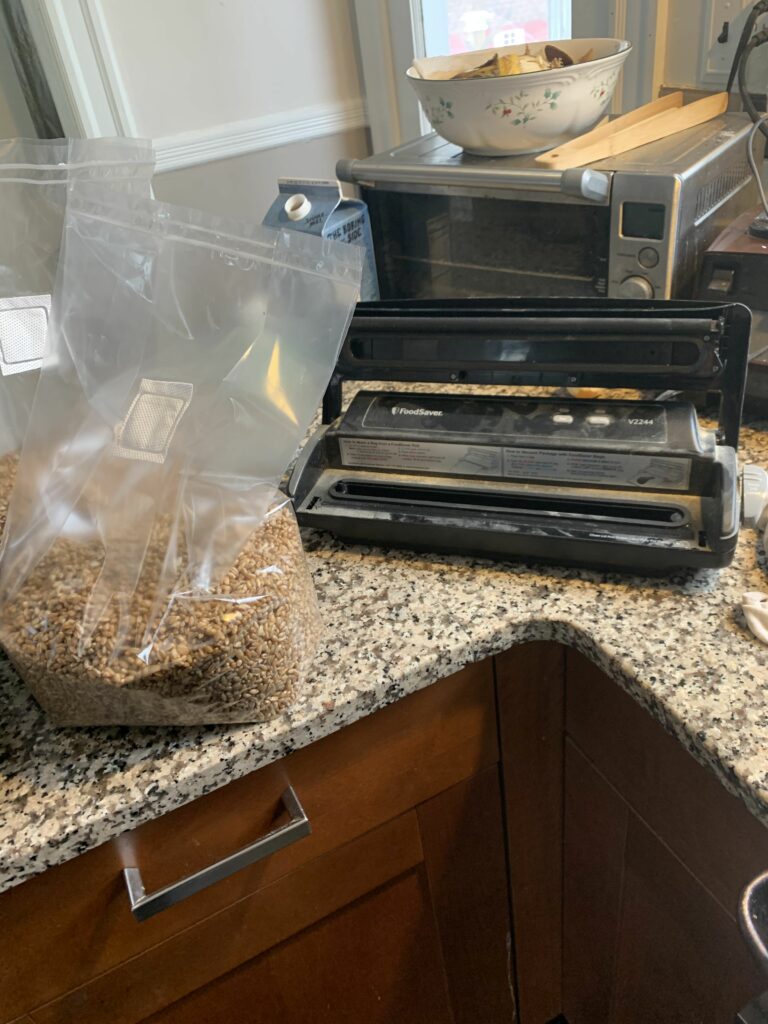
preparing grow bags 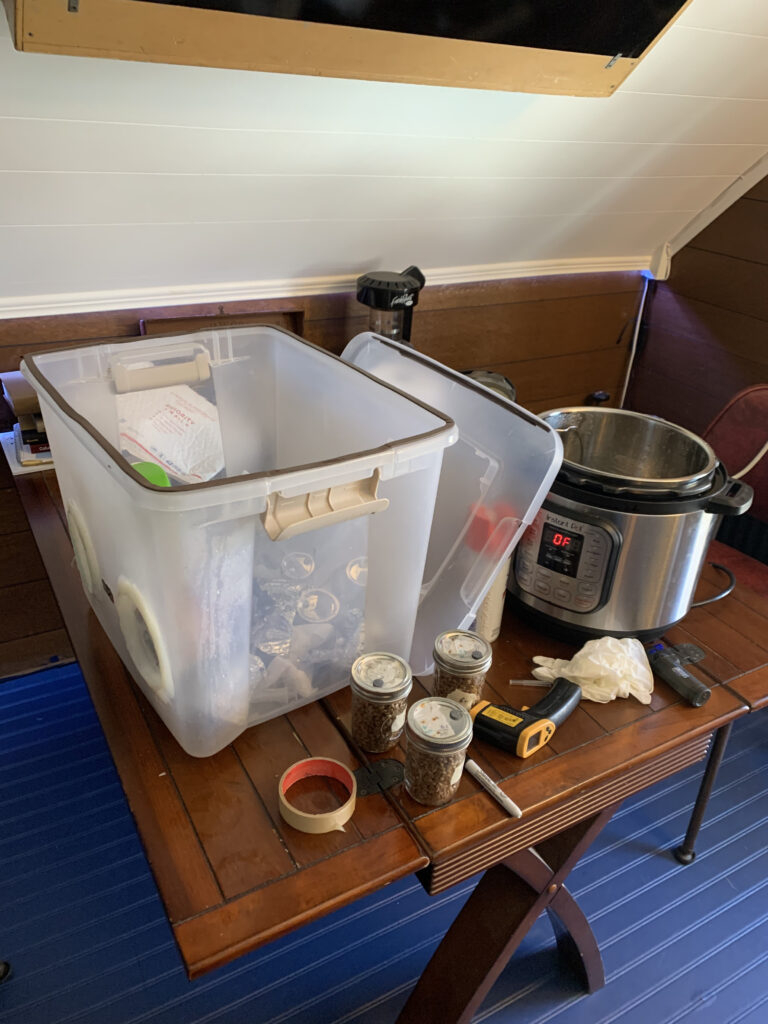
sterilize + ready to inoculate 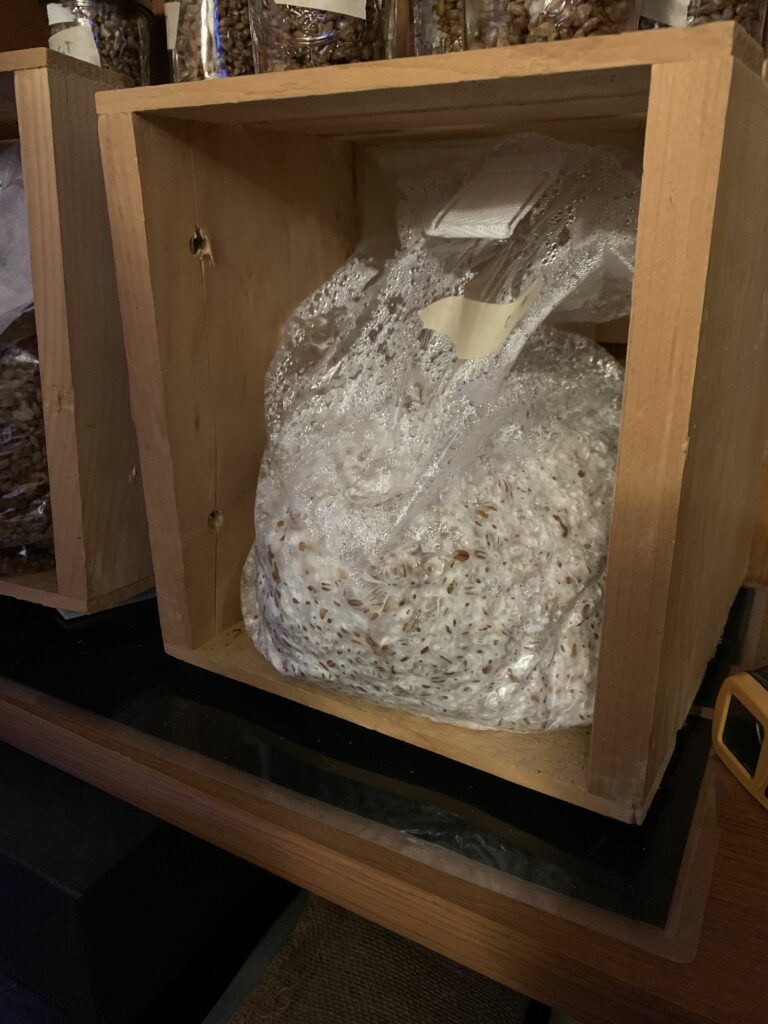
mycelium almost fully taken over bag 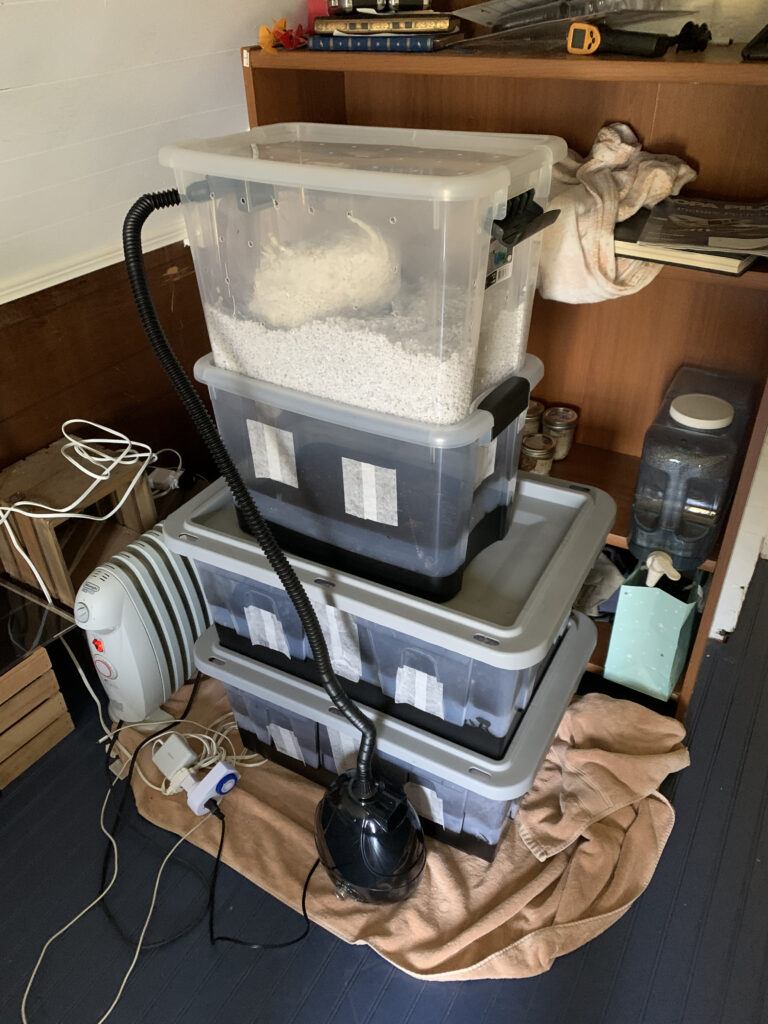
leaning tower of mushroom-pizza 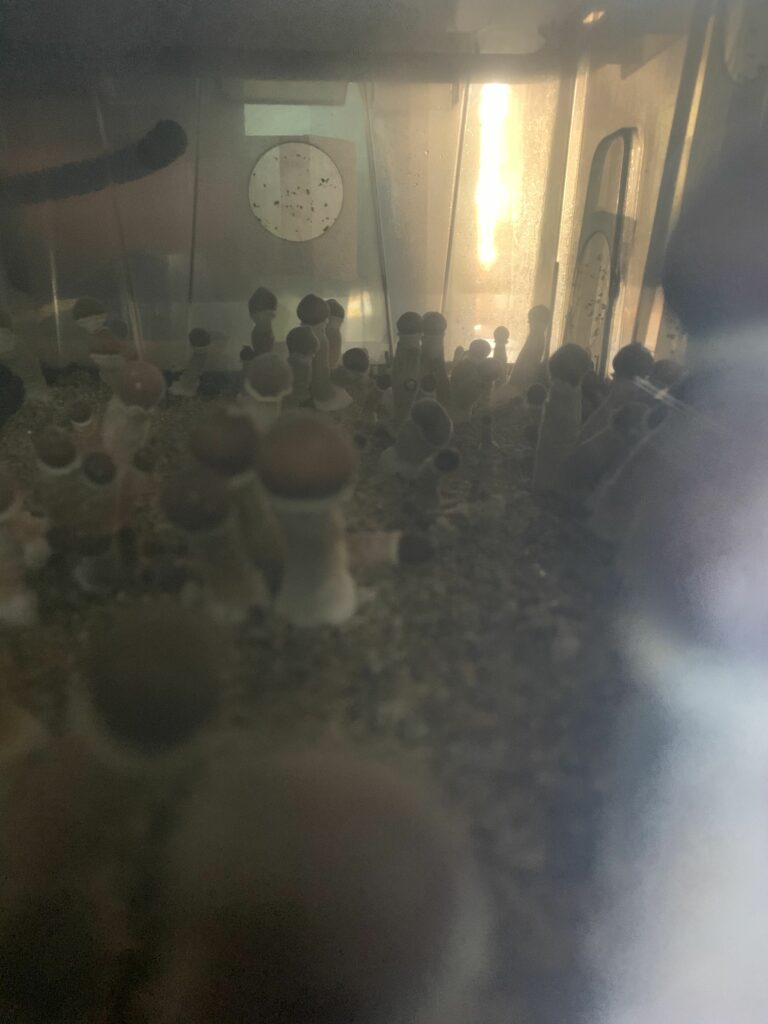
starting to peek… 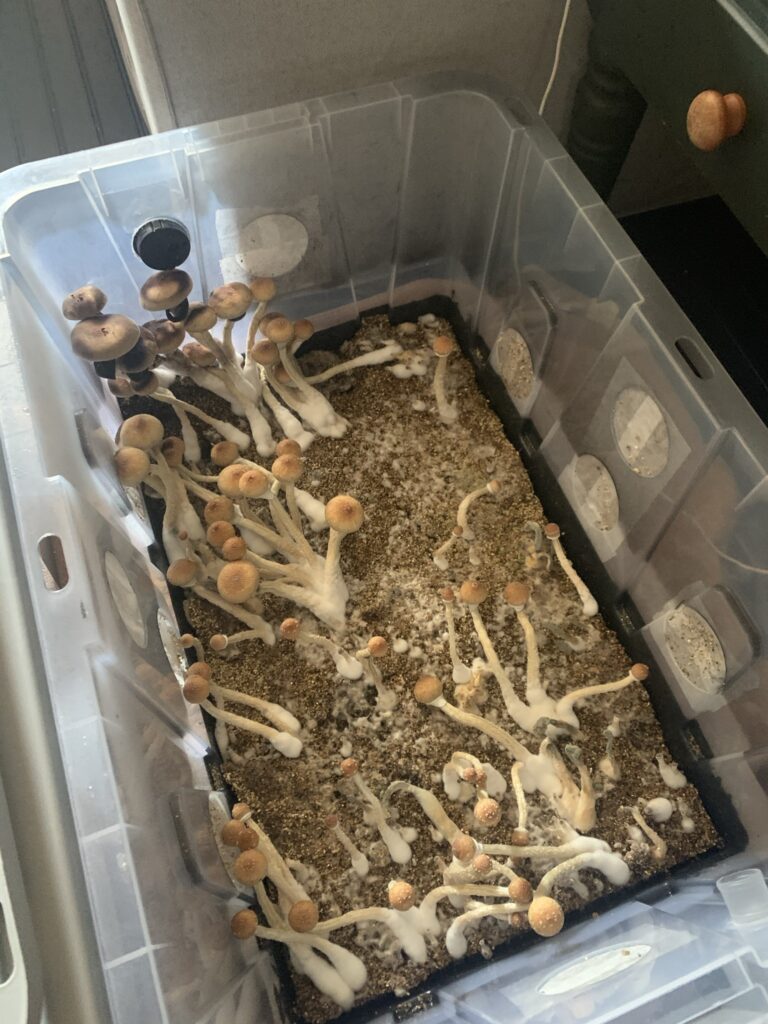
last of 3 flushes in this tub